360.261.0341
5321 NE 30th Ave., Vancouver, WA 98663
By Appointment Only

Rick Reiss, Luthier
Authorized Warranty Service for C. F. Martin Guitar Co. and Taylor Guitars
![]()
![]()
![]()
![]()
![]()
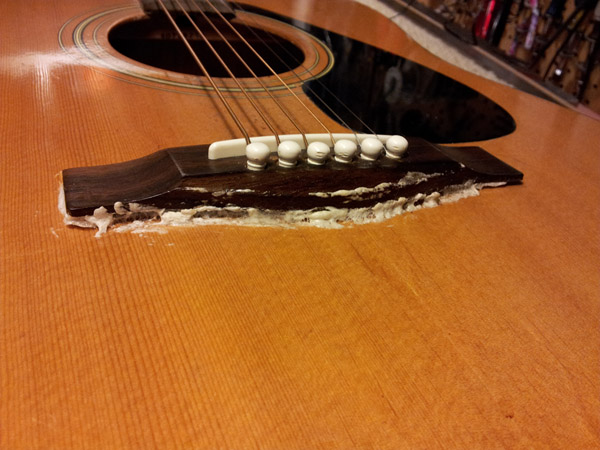
The dark spots on the bottom of the bridge, are where the gaps are that lead the bridge to start lifting and pull away from the top. Scary!
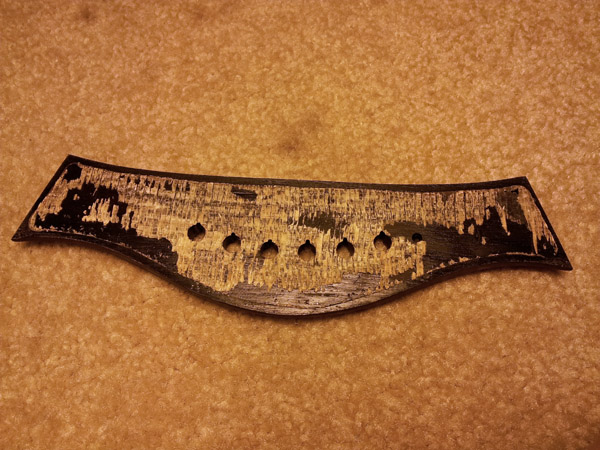
In this perspective you can see a properly prepared top gluing surface to the left side. On the right side of the bridge "outline", you can clearly see how Taylor glued the bridge to a slightly smaller version of the bridges approximate footprint. The thickness of the finish itself, obstructed proper contact when they clamped it from the factory. If they used a little more glue to fill the gap better that would of helped.
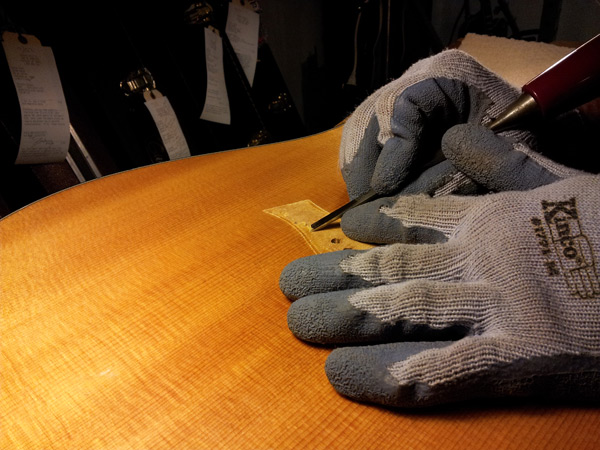
This is a view of shaving off the very thin layer of finish and glue to achieve a good wood to wood bond when regluing.
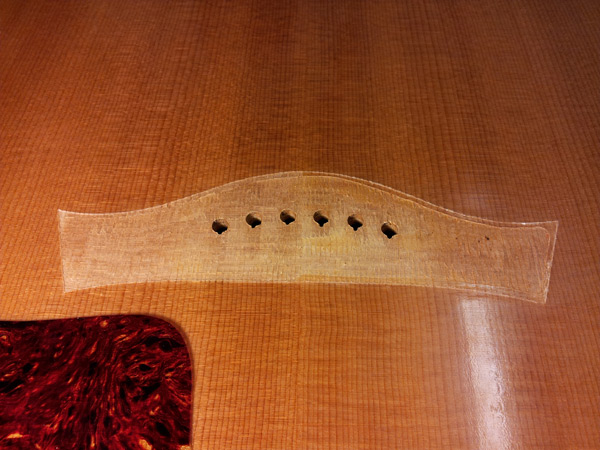
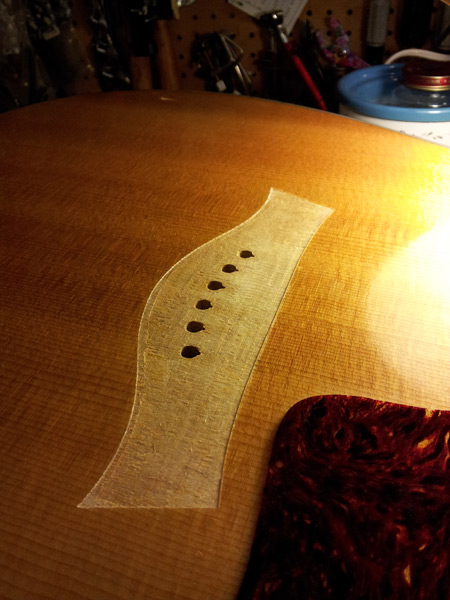
This is how a professionally prepared top should look before the bridge is glued on. A perfect outline of the bridge itself. In fact the bridge is slightly "inlaid" into the instrument since the entire thickness of the finish has been removed.
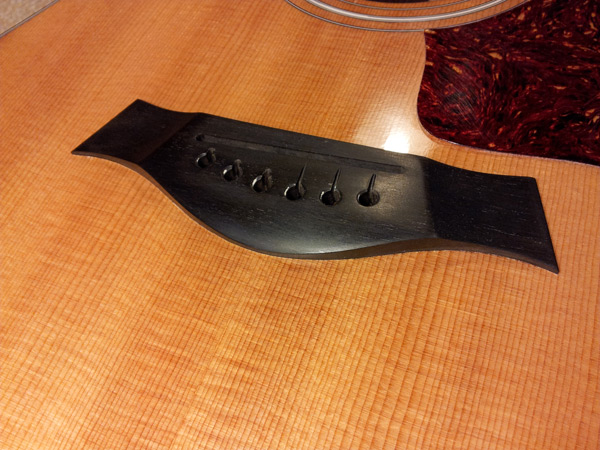
Well, looks like nothing ever happened.
Parting shot. When "do it yourselfers" go wrong! This was not a good idea... at all. And is more expensive to fix.